Killing the Crystal Lizard in the Undead Settlement (1 Gem) Looting the Catacombs of Carthus (1 Gem) Killing the Crystal Lizard in the Grand Archives (1 Gem) Farming Carthus Skeletons (infinite Gems)
We’ll break down exactly how to carry out each of these methods below, as well as how to collect the Farron Coal so you can use the Sharp Gems to infuse your weapon.
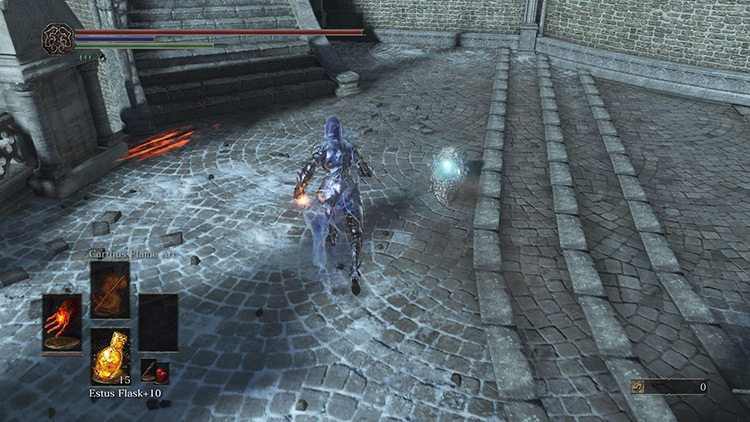
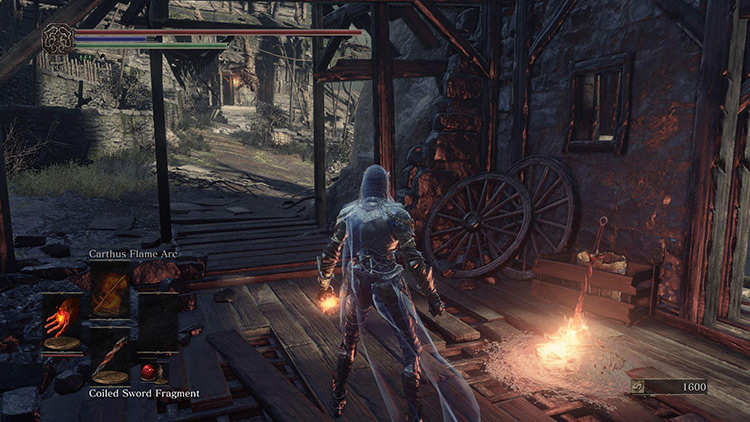
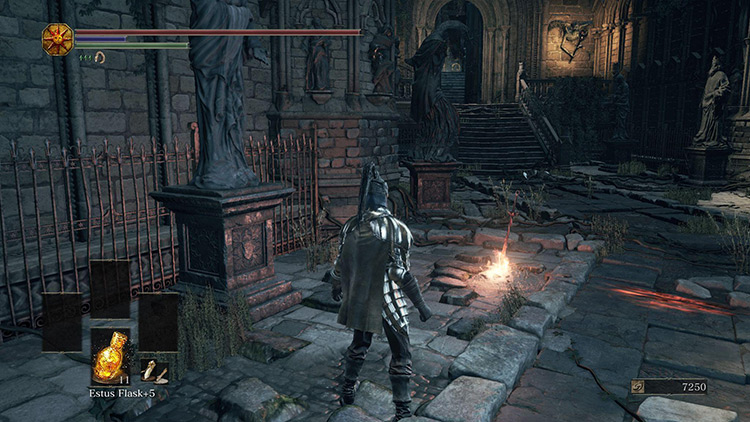
The Undead Settlement Crystal Lizard
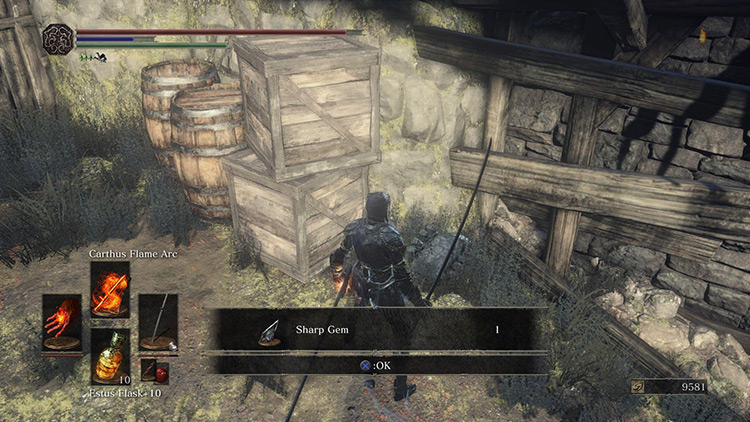
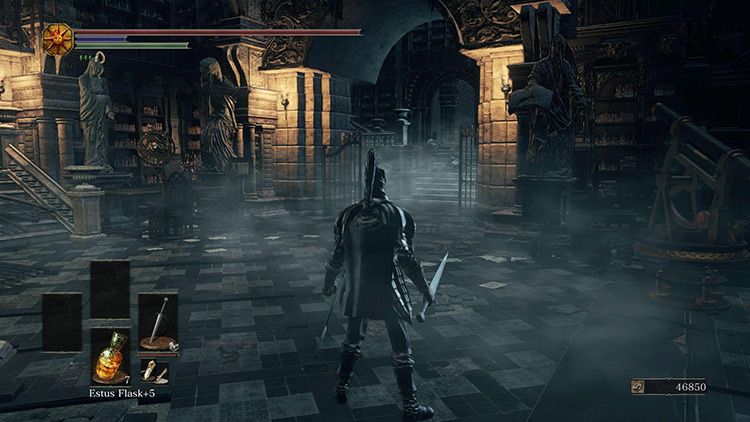
The easiest way to find Sharp Gems is by killing the Crystal Lizards that spawn throughout the world. And the earliest Sharp Gem-holding Crystal Lizard you can find is in the Undead Settlement. Starting from the Dilapidated Bridge Bonfire, head forward until you pass under a broken stone bridge and walk up the small hill on the other side. Turn around here to see a pathway that leads up to a building and a small dirt path to its left. Head up towards the building and bear left down the dirt path to find the Crystal Lizard ahead. Kill it before it vanishes to receive a Sharp Gem as a reward. Tip: Some players report that the Crystal Lizard doesn’t appear for them when they start from the Dilapidated Bridge Bonfire. If you’re having that issue, warp to the Undead Settlement Bonfire to approach the Crystal Lizard from another direction. To find the Lizard from the Undead Settlement Bonfire, first head forward into the dark house, then drop down through the floor and turn right to find the way out. Once you’re outside, walk along the right edge of the area to avoid drawing the attention of the large group of Hollows, and continue on until you reach a small ledge. Walk off this ledge and into the tunnel ahead, take out the two enemies here, and drop through the hole in the floor. Continue forward towards the sunlight at the end of the tunnel, and take out the shotel-wielding Hollow before stepping outside. You’ll find yourself in a very hectic part of the Settlement, an alleyway between houses full of hidden Hollows. I recommend running as fast as you can past them, continuing forward and not stopping until you’re inside the building straight ahead. Inside the building, follow the steps down and stop right before you leave through the archway. Outside is the Dilapidated Bridge area, and the Crystal Lizard that spawns nearby. Once you head through the archway, you risk the Lizard running away and vanishing, so stop here and get ready to make the dash over to it. Sprint out through the archway and immediately turn around and to the right to find yourself on the dirt path from earlier. Run up to the Crystal Lizard and quickly kill it to gain your first Sharp Gem.
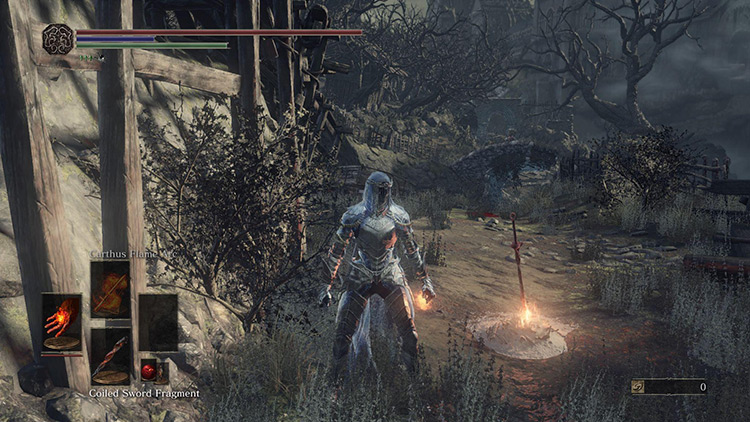
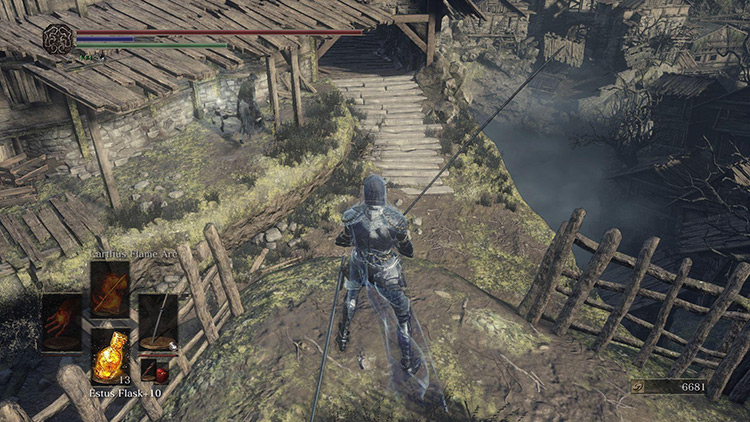
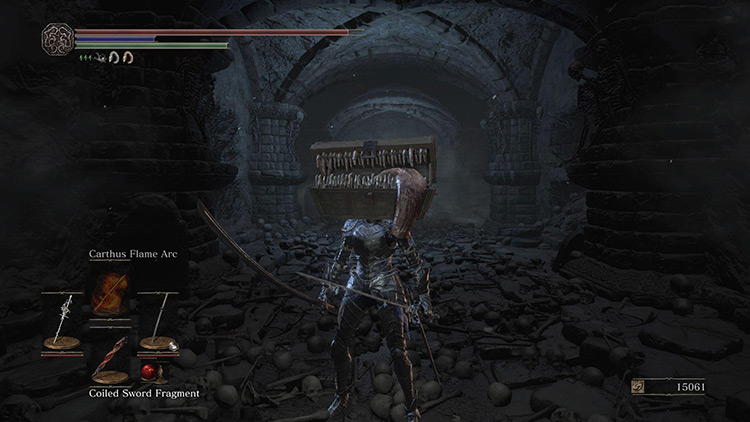
Looting The Catacombs of Carthus
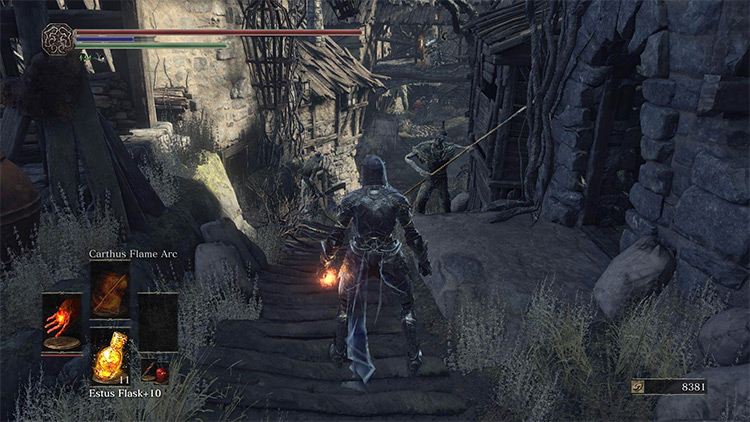
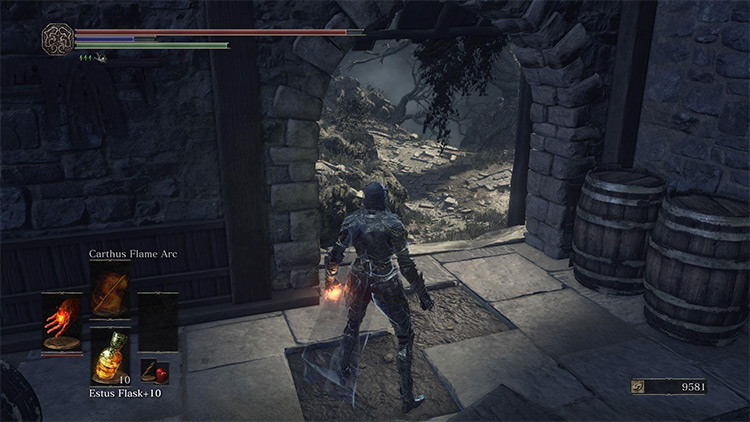
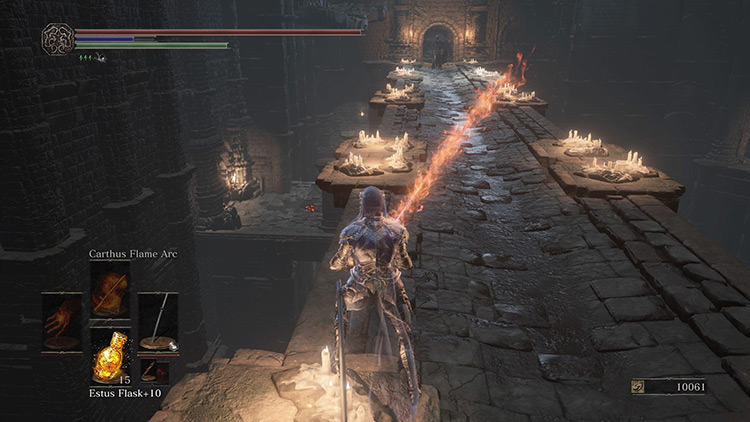
Before you make the run to this Gem, keep in mind that this route is incredibly dangerous, and may well result in your death if you don’t slowly take out each Skeleton twice to stop them reviving. If you’re like me and don’t have the patience for that, spend your souls and prepare to run past absolutely everything on the route. Start from the Abyss Walkers Bonfire and walk forward towards the stairs that lead to the Catacombs. Once you’re down the stairs, walk to the edge of the platform, then turn left and walk down this walkway until you reach a bridge to your right. Around midway across this bridge is a platform hidden below it. Once you’re level with it, drop down onto it, being careful not to fall through the hole in the platform. Once safely on the platform, head through the archway and watch out for the somersaulting Skeleton hiding around the corner. Turn right immediately after passing through the archway, then head down this corridor to what seems like a dead end. Attack the wall at the corridor’s end to break the illusion and reveal the room behind it. Turn right after the illusory wall and walk forward slightly to see a large glowing item on a corpse to your right. Pick it up to claim your second Sharp Gem.
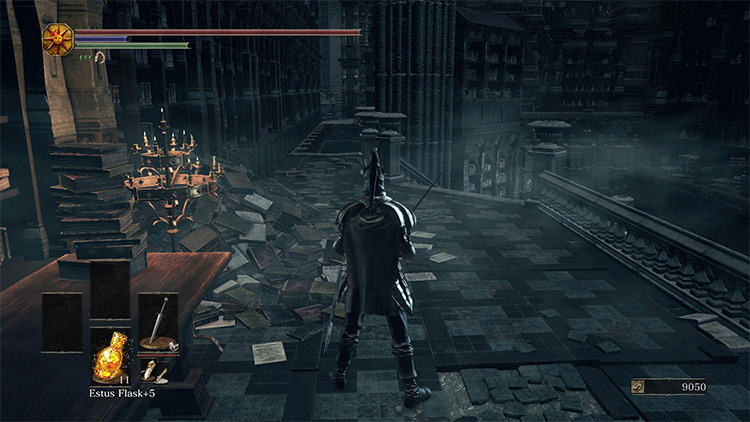
The Grand Archives Crystal Lizard
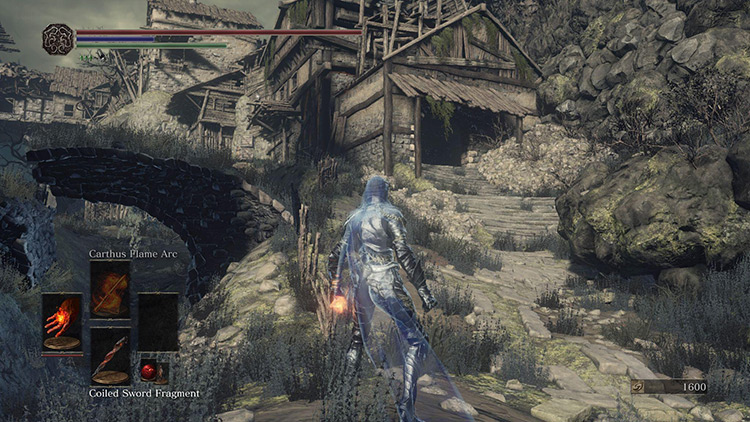
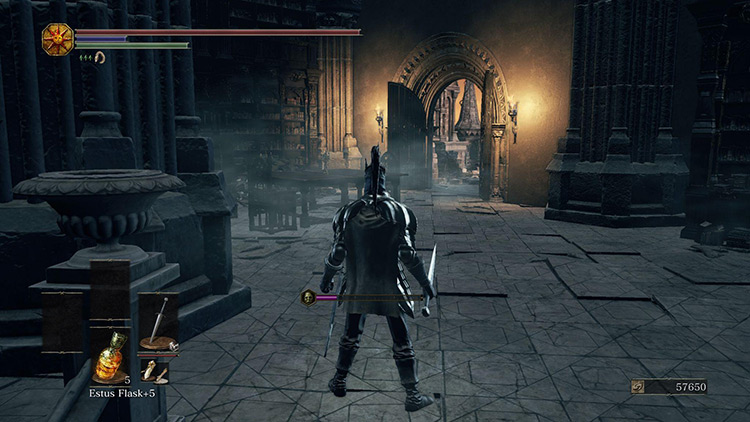
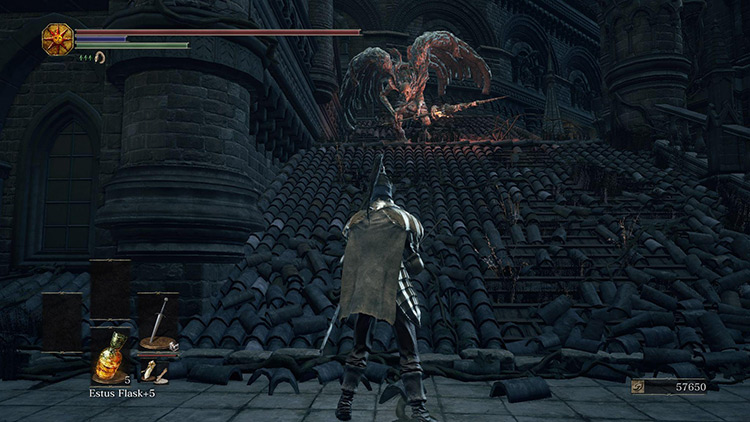
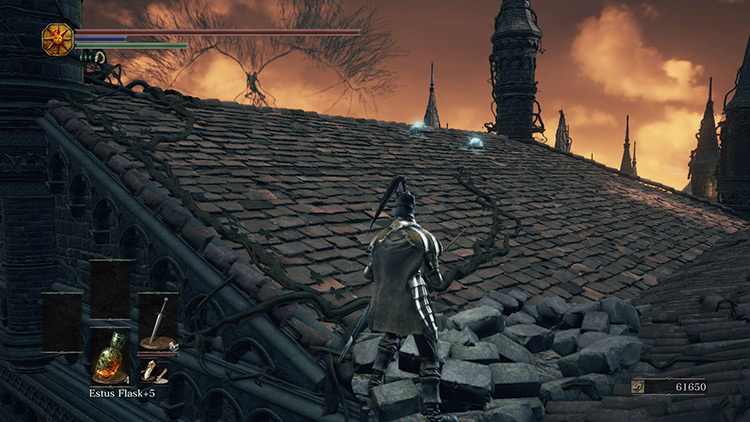
The final Sharp Gem that you can find without farming is held by a Crystal Lizard on the rooftops of the Grand Archives. Because the rooftops are towards the end of such a dangerous level, I recommend clearing the area once first, to get to grips with the layout of the zone and its enemies. From the Grand Archives Bonfire, walk forward and up the stairs into the main library building. As soon as you enter, turn left and walk up the steep staircase here. At the top, walk past the staircase and drop off the small ledge to its left. Follow this path around and walk up the small staircase ahead. Kill the Wax-covered enemy at the top, then turn left and walk towards the huge wax basin at the back of the room. Clear out the enemies here and then head through the door to the right of the basin to enter a dark library room. Once in the dark room, turn slightly right and climb the massive staircase ahead of you. Then turn right at the top to leave the room and head out onto a balcony. Defeat the enemy here and turn left to follow the balcony around. Up ahead you’ll see two open doors that lead outside. Head through them and turn around to see a ladder on your right. Climb this ladder and look to your left to see a small case littered with enemies. Take them out and climb this staircase, then run across the flat walkway until the path turns to the right. This section is dangerous, so sprint across it and keep your camera turned to the right to find where you’ll be going next. You’re looking for a gap in the railing that leads to a bridge below. Once you find it, immediately roll off of the ledge to find some temporary safety. Continue forward across the bridge, entering the gate at its end. Climb the stairs here, and enter the elevator to the right. Once you’ve ridden it all the way down, exit and pull the lever at the end of the corridor to unlock a shortcut that will allow you to skip back to this point on repeat runs. Ride the elevator back up, then continue on the path you were walking, climbing the stairs at the end of the room. Run across this flat area ignoring the enemies, and head through the archway on the other side. Then climb the stairs here to find a set of doors that lead outside. Walk outside and turn left, dropping off the ledge with the small ladder. And then walk forward until you see a slanted roof that you can walk on to your right. Continue straight across these slanted rooftops until you find a flat stone pathway. Next, walk to the end of this pathway, and turn left to find a Gargoyle that stands in your way. Once the Gargoyle is defeated, walk up towards the top of the slanted rooftop that it came from and turn around to find two Crystal Lizards. It’s the Lizard on the left that you’re after – it’ll drop the third and final isolated Sharp Gem that you can find naturally throughout DS3. If you’ve killed the left Crystal Lizard and have time to kill the other before it vanishes, you can defeat it for a Heavy Gem, an important item for Strength-based builds.
Farming Sharp Gems in the Catacombs
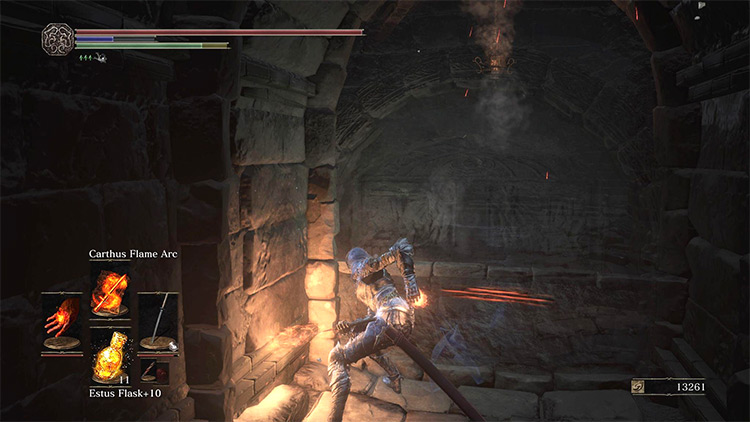
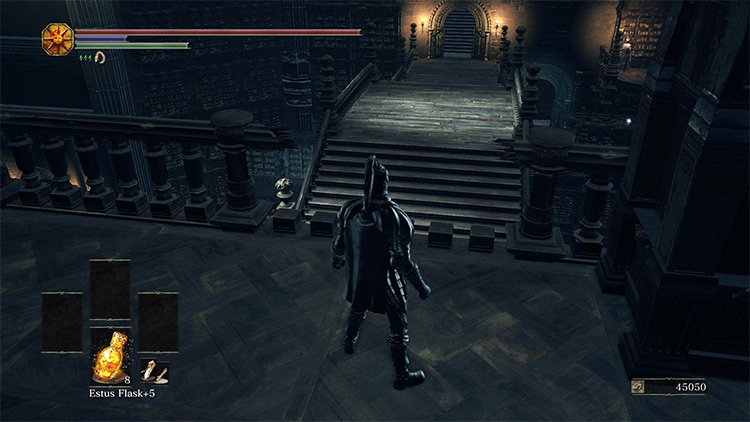
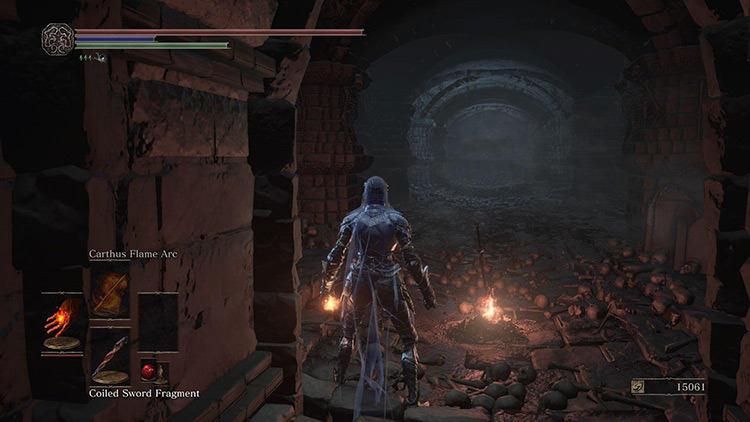
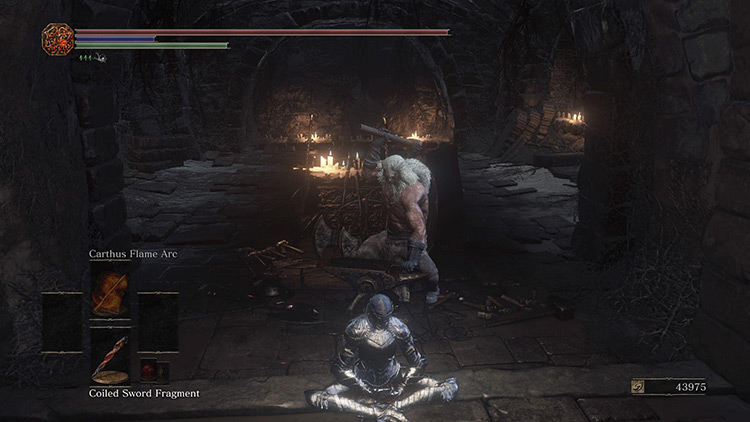
If you need more Sharp Gems than the 3 that you can obtain naturally, you’ll have to get to farming in the Catacombs of Carthus. Before you do, though, make sure to raise your item discovery stat by equipping item discovery-boosting gear such as the Symbol of Avarice and the Crystal Sage’s Rapier. For a full guide on maximizing your farming luck, check out our Farming Build Guide. Once you have the gear you’ll need to speed up the farm, warp to the Catacombs of Carthus Bonfire to get started. From the Bonfire, walk forward until you reach the corridor with the rolling Skeleton ball. Turn right into this corridor, then turn left at the next door. Next walk down this corridor and into the next room to find two large Skeletons – these are the target of the farm. Once you’ve killed both Skeletons, walk or warp back to the Bonfire to start the cycle again. Sharp Gems are a very rare drop from these Skeletons, but this is still the best farming opportunity in the game.
How To Use Sharp Gems
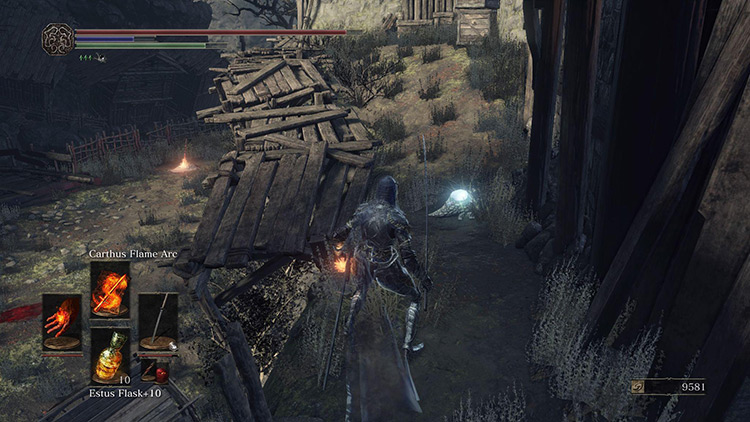
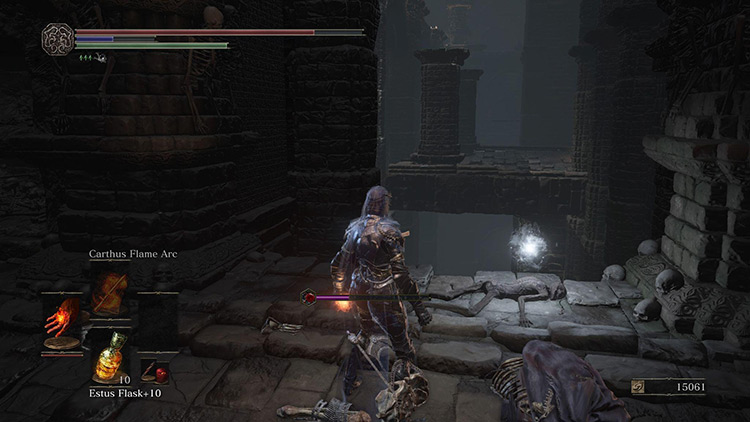
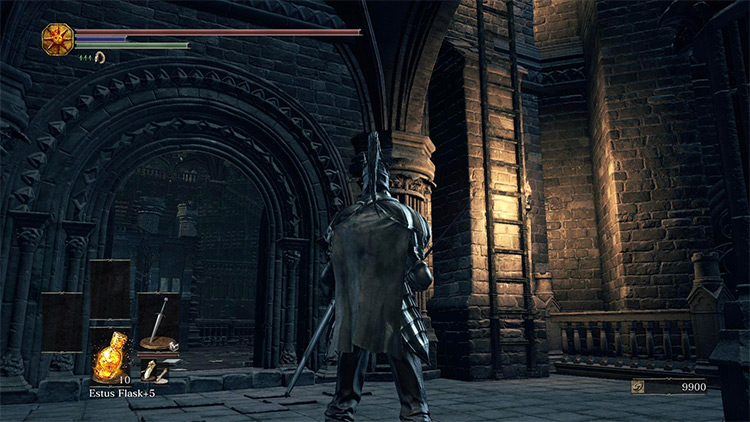
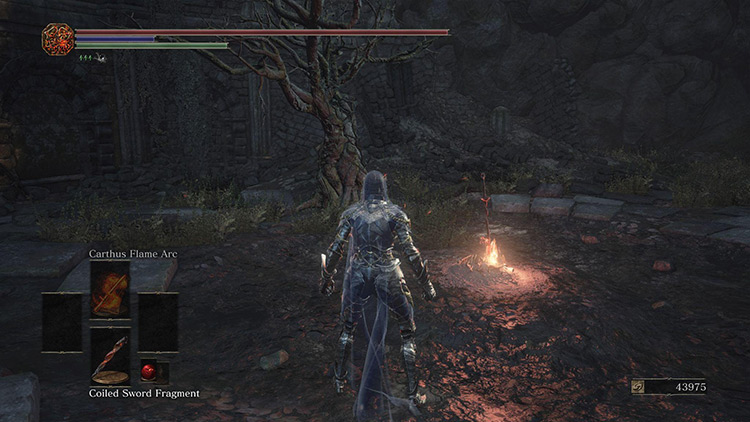
To use Sharp Gems for infusion, you’ll need to give the Farron Coal to Andre the Blacksmith in Firelink Shrine. The Farron Coal is found in a side-area next to the Halfway Fortress Bonfire, so warp there for the quickest route to the Coal. From the Bonfire, walk towards Farron Keep, following the winding path until you see a series of small ledges to the right of the path. Roll off of each of these ledges until you find yourself next to the swamp below. Follow this small side-path until you reach a stone archway that leads into some ruins. Head through the archway and turn left into the corridor. Defeat the Black Knight up ahead and then continue onward until you see a corpse sitting at the end of the hall holding an item. Interact with this corpse to pick up the Farron Coal, then warp back to Firelink Shrine to see Andre. Now walk over to Andre and talk to him, choosing the new ‘Give Coal’ option. Choose to give him the Farron Coal, and you’ll unlock Sharp, Heavy, and Refined infusions for your weapons, allowing you to spend your Sharp, Heavy, and Refined Gems. Each Sharp infusion costs 1 Sharp Gem, and will change the infused weapons stat scaling, causing it to scale better with your Dexterity stat.