The most consistent & reliable method of the three is simply farming Baelsar’s Wall. But let’s go through each of them so you can find the best method that most interests you.
Method #1: Baelsar’s Wall
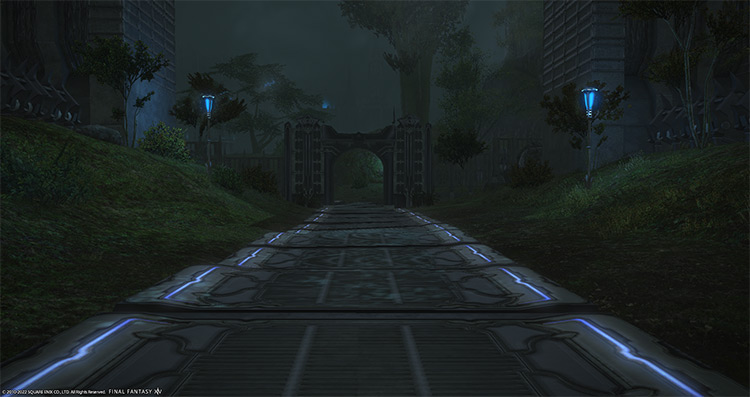
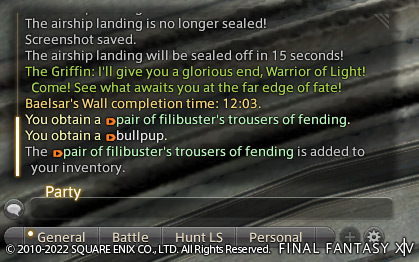
You can unlock Baelsar’s Wall by starting the Main Scenario Quest (MSQ) “Griffin, Griffin on the Wall” from patch 3.5 in the Heavensward expansion. Do note that you have to complete every MSQ up to that point before you can unlock the quest. Once you have, go to Alisaie in Mor Dhona (X:22.1, Y:8.3) to start the quest. Since this is quite an old dungeon, you can start the dungeon unsynced to farm the dungeon faster. If you have a high-level job (70+), you will be able to solo this dungeon easily in 10-15 minutes. To help make your run smoother, here’s a quick breakdown of each boss in the dungeon and their rewards:
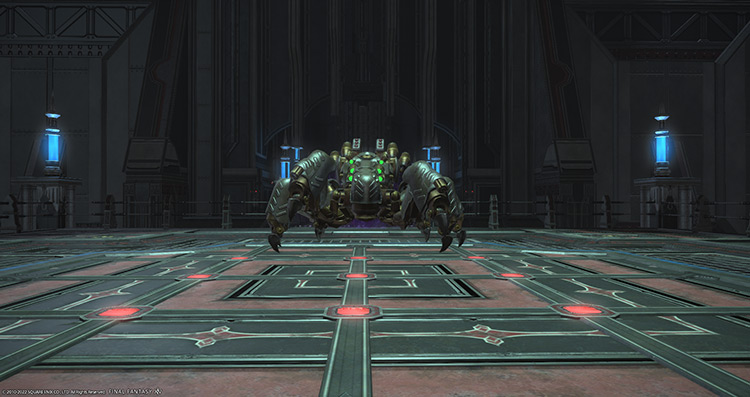
Boss #1: Magitek Predator
Mechanics:
Magitek Claw: Tankbuster attack. Reinforcements: Mobs that target DPS players. Prioritize killing the reinforcements. Magitek Ray: Long column AoE. Magitek Missile: Marked players will be hit by a circle AoE. Move away from other players to prevent excess damage.
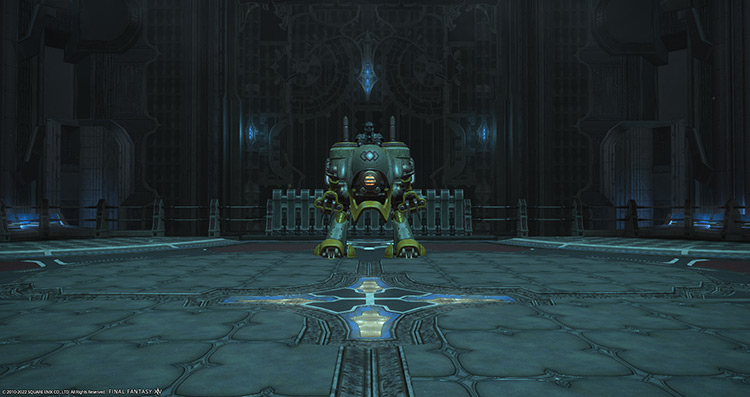
Boss #2: Armored Weapon
Mechanics:
Launcher: Group-wide AoE attack. Dynamic Sensory Jammer: Debuff that damages players for any action or movement when the debuff is active. Don’t move or use any skills until the debuff wears off. Diffractive Laser: Targets a random layer with a circle AoE. If you’re debuffed with Dynamic Sensory Jammer and targeted with Diffractive Laser at the same time, wait for the debuff to wear off before dodging the AoE. Magitek Bit: Untargetable mobs will spawn at the edges of the platform and fire long column AoEs. Distress Beacon: Magitek Slasher mobs will spawn throughout the platform. Tanks should quickly grab these mobs to avoid excess damage to other players.
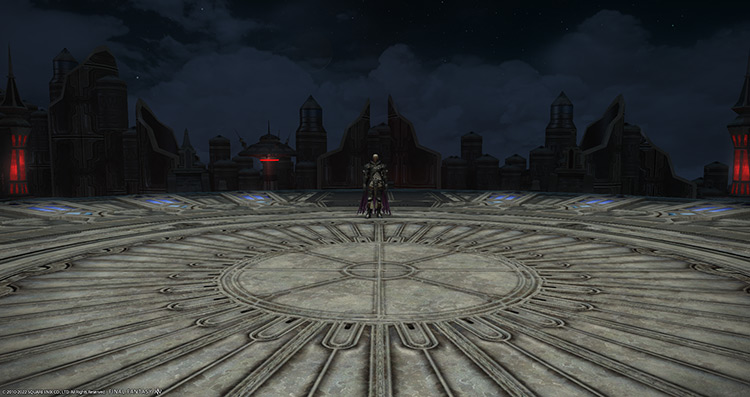
Boss #3: The Griffin
Mechanics:
Beak of the Griffin: Group-wide AoE attack. Claw of the Griffin: Tankbuster attack. Flash Powder: Stuns players facing the boss when the cast goes off. Look away from the boss to avoid getting stunned. Sanguine Blade: Boss jumps near the edge of the platform and casts a room-wide AoE. Use Sprint to move to the safe zone quickly. Lionshead: Blades will drop down from the sky, causing AoE damage. Then, blade mobs will appear and explode once their casts go off. Focus on destroying one blade to create a safe zone for the party. Restraint Collar: Targets and stuns healers. Destroy as quickly as possible. Big Boot: Knocks back DPS players. Sprint back to the safe zone as soon as possible or use anti-knockback skills.
Apart from the boss rewards, there are four treasure coffers located throughout the dungeon that you can open for more gear rewards:
(X: 10.9, Y: 11.5) (X: 10.5, Y: 9.6) (X: 11.6, Y: 10.8) (X: 12.0, Y: 11.9)
Farming Baelsar’s Wall is the most reliable method of getting the Bullpup minion, but can also be time-consuming. If you prefer to do other activities while trying to get the minion, consider the next two methods.
Method #2: Materiel Container 3.0
To be able to exchange seals for the Materiel Container 3.0, you need to reach the “Captain” rank in your respective Grand Company (GC). GC ranks can be leveled up by turning in a specific number of GC seals and completing the required quests to advance. You can earn GC seals through the following:
Grand Company Hunting Log FATEs Duty Roulette: Leveling Duty Roulette: Guildhests Supply Missions Expert Delivery
The easiest way to farm GC seals is through Expert Delivery. You can turn in as many dungeon gears as you want. And depending on the level of the dungeon gear, you can get as many as 1800 GC seals with one dungeon gear. Once you reach the Captain rank, go to your respective Quartermasters:
The Immortal Flames: Flame Quartermaster – Ul’dah – Steps of Nald (X:8.3, Y:9.0) The Order of the Twin Adder: Serpent Quartermaster – New Gridania (X:9.8, Y:11.0) The Maelstrom: Storm Quartermaster – Limsa Lominsa Upper Decks (X:13.2, Y:12.8)
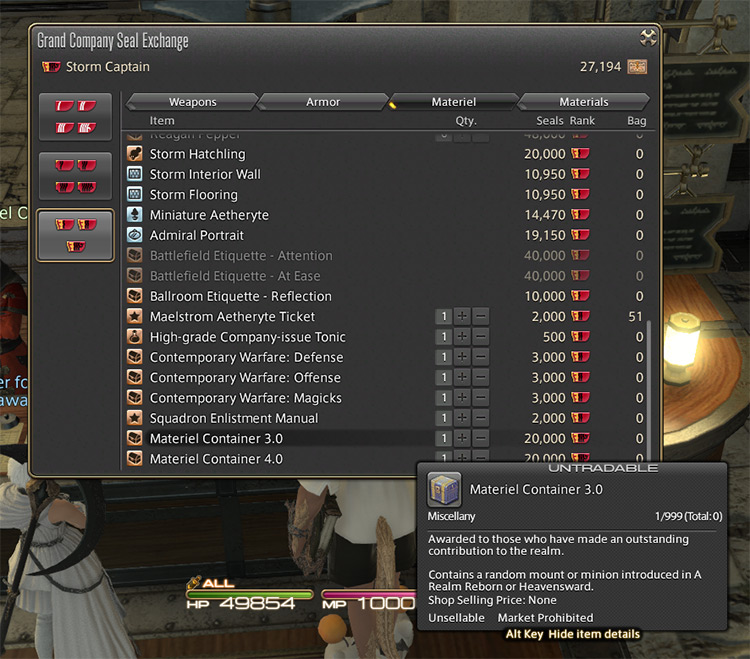
Open the Materiel tab and the Materiel Container 3.0 should near the bottom of the list. Each Materiel Container 3.0 costs 20,000 GC seals. This may seem like a lot, but if you have loads of dungeon gear in your inventory, you can easily grab a few of these at a time. Getting the Bullpup minion solely through this method isn’t ideal, since it’s basically a gacha game for minions. But if you have extra dungeon gear lying around after farming Baelsar’s Wall, you can turn those in and try your luck with the containers.
Method #3: Kupo of Fortune
You can also win the Bullpup minion through the Kupo of Fortune minigame. This method is good for crafters primarily focused on Ishgardian Restoration turn-ins. To unlock Ishgardian Restoration, you must first finish the MSQ “Litany of Peace” from patch 3.3 in the Heavensward expansion. Once you’ve finished that quest, go to Foundation (X:9.7 Y:11.5) and accept the sidequest “Towards the Firmament” from the Recruitment Notice. Go through the cutscenes explaining the restoration and reconstruction of the Holy See of Ishgard. After you’re done, head over towards Potkin (X:12.2, Y:14.6) Kupo of Fortune requires Kupo Vouchers to play. These vouchers can be obtained after getting five Kupo Stamps from item turn-ins for the Ishgardian Restoration. Through Potkin, you can turn in your crafted items and also check which items have the stamp icon. Here’s a quick rundown of the mechanics:
Only items with the Kupo Stamp icon beside them will give you stamps for the voucher. Turn in five items with the stamp icon to get one voucher. You can only have 10 vouchers at a time. To use a voucher, go to Lizbeth (X:12.2, Y:14.6).
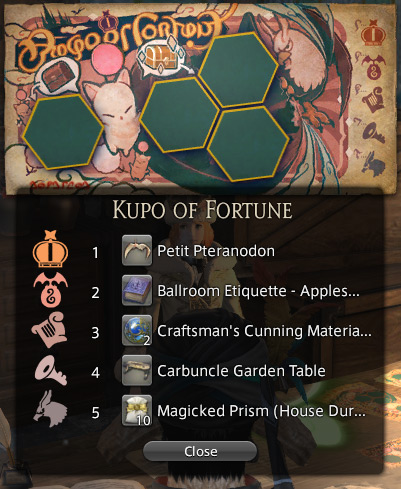
Kupo of Fortune has five sets of prizes that you can win items from. Each set has a corresponding icon assigned to them that you have a chance of getting through the voucher. When you use a voucher, you’ll see four hexagons and a list of their potential prizes. The Bullpup minion is part of the second set of prizes indicated by a winged icon. If the Bullpup minion doesn’t show up in the list, you’ll have to try with another voucher. If you get the Bullpup minion in the prize list, you can increase your chances of getting it by selecting the leftmost hexagon. This will give you a 25% chance of getting the second prize and eliminate the chances of getting the first and fifth prizes. Picking from the three hexagons on the right will allow you to get the first and fifth prizes, but this won’t be necessary since you’re targeting the Bullpup minion. Similar to the Materiel Container 3.0 method, this isn’t recommended if you’re specifically targeting the Bullpup minion, because there’s so many other prizes you can get from each voucher. But if you’re casually crafting for Ishgardian Restorations, getting extra rewards on the side isn’t so bad!
![]()