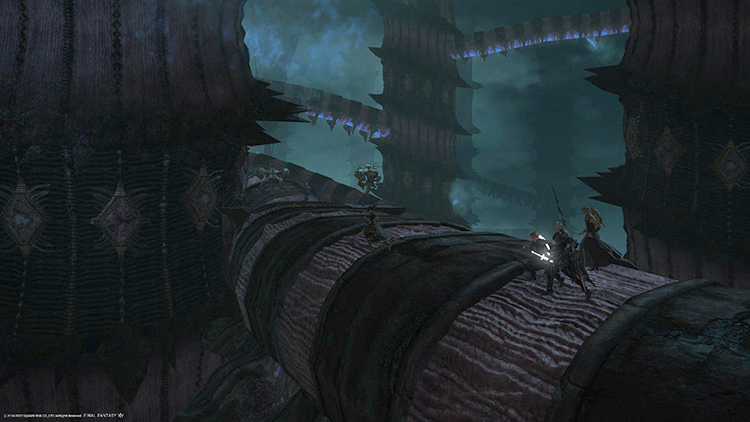
The Dungeon is unlocked early on in the 6.0 Main Story, from the Quest “In the Dark of the Tower”. Upon leaving Old Sharlayan and first venturing into Thavnair, you’ll need to seek out Nahbdeen (Thavnair – Hamsa Hatchery, X:10 Y:10). He’ll direct you to a waiting boat which will carry you into The Tower of Zot. From here it’s just a matter of queueing and toppling the Tower. The Magus Sisters Minion isn’t a guaranteed drop, so it’ll likely take multiple climbs to win one. Also keep in mind that unless you’re doing the dungeon with Trusts, you’ll also need to win the loot roll to get this minion for yourself.
Tower of Zot Magus Sisters
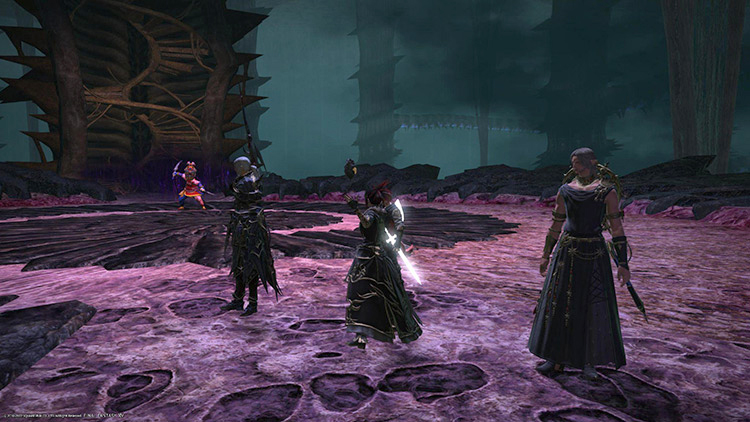
Being the first Dungeon of Shadowbringers, possibly your first dungeon ever, can be a little daunting. The Magus Sisters themselves will challenge you as you climb, complete with peculiar mechanics. No worries, because you’ll be ready for whatever Delta Attack they decide to throw at you. Here’s a quick guide on how to handle them:
Minduruva
Manusya Bio – Tankbuster which also inflicts a high-damage poison. Should be dispelled and mitigated as necessary. Manusya Blizzard III – Minduruva will fire off 12 conal AOEs from the center of her hitbox. Simply stand between them to avoid damage. Manusya Fire III – A large circular AOE. The area directly around Minduruva will be safe. Manusya Thunder III – The Boss will drop one circular AOE which will then spread sequentially in four directions. Move away or stand diagonally from Miduruva until the AOEs pass you. Manusya Bio III – Minduruva will cause an AOE which will cover the entire arena except for behind her. Move to the Boss’s rear to avoid damage. Dhrupad – Targets everyone but the Tank with a damage over time spell. It occurs after every Transmute, so heal as necessary.
Note: Minduruva will also use the Transmute ability. This spawns two orbs in the arena. She’ll then cast Blizzard, Bio, Thunder, or Fire III which will cause another orb to slowly move towards the stationary ones. Once the orbs meet, the effect of the spell will occur at that location. Watch the spell she casts and then preposition accordingly to avoid damage.
Sanduruva
Isitva Siddhi – Tankbuster, mitigate and heal as necessary. Prapti Siddhi – Sanduruva will fire a large line AOE at each Player individually. Spread out to avoid overlapping. Manusya Berserk – Five orbs appear in various spots. When Sanduruva finishes her cast, they will explode in a large AOE. Move to the edge of the arena without an orb. If hit, you’ll get the Berserk debuff and lose control of your character. Prakamya Siddhi – A point-blank AOE around the Boss. Just move to avoid – it’ll be used directly after Manusya Berserk. Manusya Stop – Sanduruva teleports to the center and targets everyone with debuffs. When the debuff expires, you’ll be frozen in place and targeted with a Prapti Siddhi. Spread out to avoid overlap and heal as necessary. Manusya Confuse – Sanduruva will spawn five orbs disguised as herself around the arena. They will be doing various dances; look for the stationary Boss and head to the wall behind them. Once the cast finishes all clones will explode.
The final fight is against all three of the Sisters at once. And they’ll repeat the mechanics from their respective battles. But just keep that in mind as there can be a lot of AOEs going out at once.
Harbingers Elect: The Magus Sisters
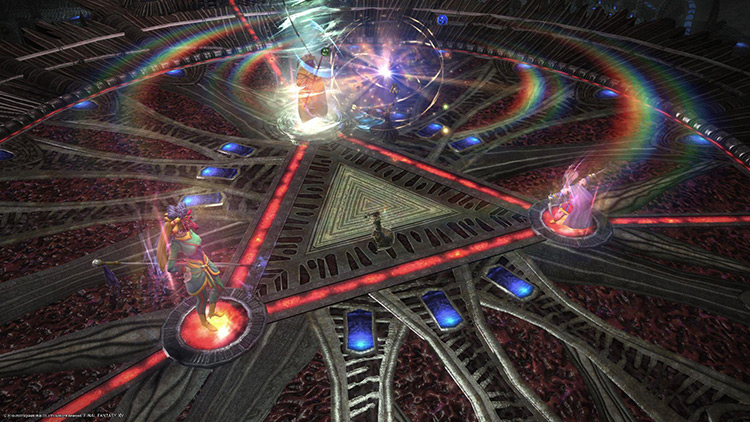
Samsara – A room-wide AOE. It’s unavoidable, so mitigate and heal as necessary. The major mechanic of this fight is the iconic Magus Sisters’ Delta Attack. It consists of three separate effects.
Minduruva will cast Delta Attack, which when it ends will cause all the mechanics to take place. Sanduruva will cast Manusya Faith, which strengthens the spells. Cinduruva will cast Manyusa Reflect, which causes the spells to occur from all three Sisters simultaneously.
Delta Attack – This can be either Fire, Blizzard, or Thunder. The tell here is in what phrase Minduruva says before the cast resolves: “Glacial Ice, entomb our foes!” is Blizzard III. Dodge the conal AOEs and watch for flashing proximity markers around the arena. Run away from them to avoid fatal damage. “Thunderous tempest, smite our foes!” is Thunder III. Each Sister will have circular AOEs of varying size spreading out from them in sequence. Large line AOEs will also occur, finishing with a party stack marker. Mitigate and heal as necessary while moving together. “Insatiable flame, consume our foes!” is Fire III. There will be two large donut-shaped AOEs that you’ll need to stand in to avoid damage. Large circular AOEs will occur at the same time. This is followed by everyone being targeted with personal AOE markers, so spread after standing in the second safe area. Note: In the time in-between the Delta Attacks, these bosses will use their respective mechanics. This includes line AOEs, Tankbusters, and Minduruva’s Dhrupad. It can be quite a bit of healing if you aren’t prepared or enjoy standing in colors. Keep safety in mind, and you’ll be wrecking the Sisters in no time. Then afterwards you can open your treasure coffer and hope for your Magus Sisters Minion.