The Decipher action is essential when hunting treasure from timeworn maps. “Dig”, the other fundamental skill for treasure hunters, is also learned from the same quest.
Quick Step-by-Step Unlock Guide
Detailed Walkthrough
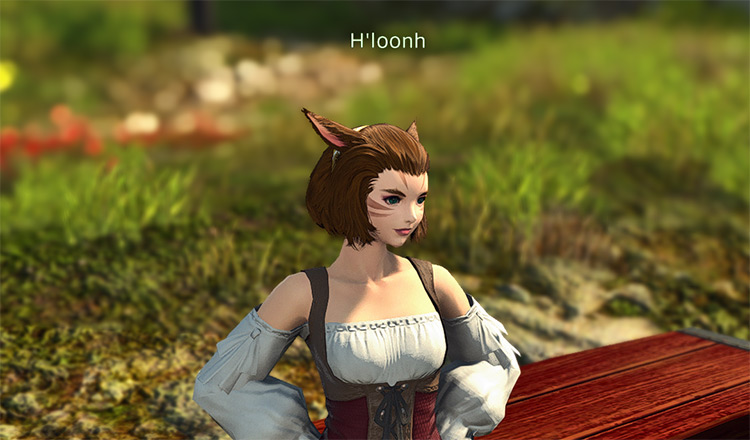
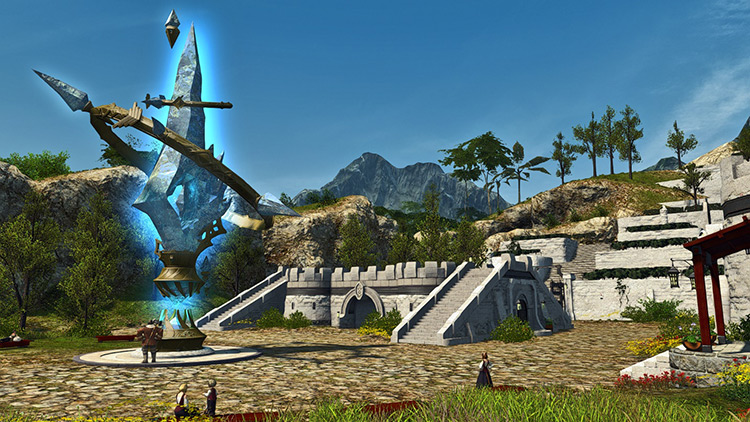
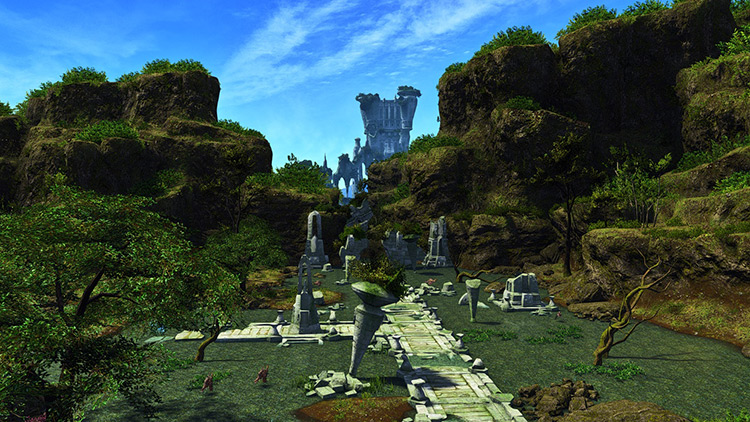
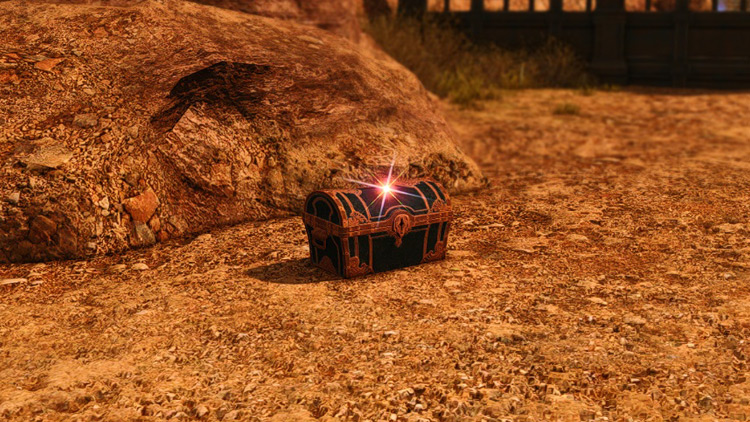
Make your way to Eastern La Noscea and speak with H’loonh at (X:21.1, Y:21.1) to accept the quest “Treasures and Tribulations”. H’loonh will tell you about how she was approached by a drunk who told her a tale involving a treasure map. H’loonh will go on to explain that she doesn’t remember the details of the drunk’s story since she was also drunk at the time. One thing she did retain though was that her new acquaintance made mention of heading to Raincatcher Gully to meet with one of his miner friends. Travel south of Wineport to speak with an NPC named “Diligent Digger” at (X:20.0, Y:25.0). Diligent Digger will tell you that the drunkard’s name is “Ealdwine” and that he had seen him just recently with a piece of parchment. The NPC will go on to say that Ealdwine believes the parchment to be a map of Camp Bronze Lake with a large red “X” in the southeast area. Travel to Upper La Noscea and you will find Ealdwine at (X:34.0, Y:24.8). Upon speaking with Ealdwine, you’ll learn that he has just found the treasure he was searching for. He points in the direction of his newfound loot and gives you the honor of retrieving it for him. You can find Ealdwine’s treasure in a shabby casket a short distance away. Click on the casket, and monsters will start to spawn and ambush you. Then return to the shabby casket after dealing with the monsters. Inside, you’ll find a tattered coinpurse and a broken bottle. When you bring these items back to Ealdwine, a cutscene will play that shows the treasure hunter assume that these items were part of the trap that brought forth the monsters. Ealdwine will ask for the rest of the items found inside the coffer, but after explaining that those were the only items you found, he figures the best thing to do is continue the search for more treasure. Our new friend then decides to teach you the essential skills needed to hunt treasure. After the cutscene ends, you will have completed the quest and gained access to both “Decipher” and “Dig”.
Using the Decipher Action
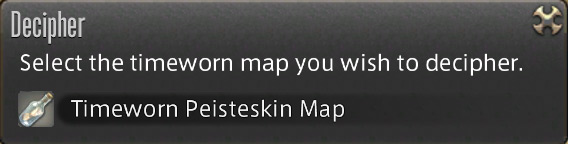
After learning the Decipher action, you won’t be able to just use it right away. To use this skill, you will first need something to use it on – a timeworn map. There are several different kinds of timeworn maps like the “Timeworn Peisteskin Map” or the “Timeworn Zonureskin Map” to name a few. All of them can be obtained through gathering or by purchasing them from the Market Board. Note: you can only obtain one map through gathering every 18 hours. Additionally, you can only have one of each type of map in your inventory at a time. Once you do have a timeworn map, you can now set the action on your hotbar and press the corresponding shortcut. A window will appear with a list of maps you can decipher. Another way to use the Decipher action is through the inventory menu. Open up your inventory and right-click on the timeworn map you wish to use and select the Decipher sub-command. After using Decipher, a key item will show up in your inventory that shows a portion of a zone marked with a red “X”. Look for the correct area in the specified zone and use Dig to unearth your treasure.